Tuesday, November 10, 2015
Sunday, November 8, 2015
Decided to use Loctite pro line marine sealant (thanks Mac) and adhesive between tank and cover as well as around perimeter. This required less than one tube. Also I skipped on screws around the perimeter. Fearing this product was as mighty as 3M's 5200 I was relieved that after curing quite fast I could remove it with some work fairly easily. Opening and servicing these spaces apart from the access ports will not be pleasant but hopefully that will happen in a distant time.
All panels are installed and the shroud bases complete. I installed the seat stringers and edges. 3 mm cold molding strips are ready to start the two layers for the mid deck. Fitted the tiller thrust bearing block so it is removable.
I like the flying Genoa system here: https://flyingfifteen.wordpress.com/2014/04/16/free-floating-genoa-barbers/ but the cockpit design in trying to adhere to the rules is a bit aggressive on the inner edge of the side decks. Most boats show a bevel but I came at it with a sharp edge. If I can layout lines without rubbing the edge I will try it otherwise I need to add a track attachment point along the stringers before the skin goes on.
When the for, aft and mid deck skins are on the main structural is finished. Trying not to think about the thousand other steps other than the big picture: Console, floor, bow, keel and step, splash...mast/sails kit.
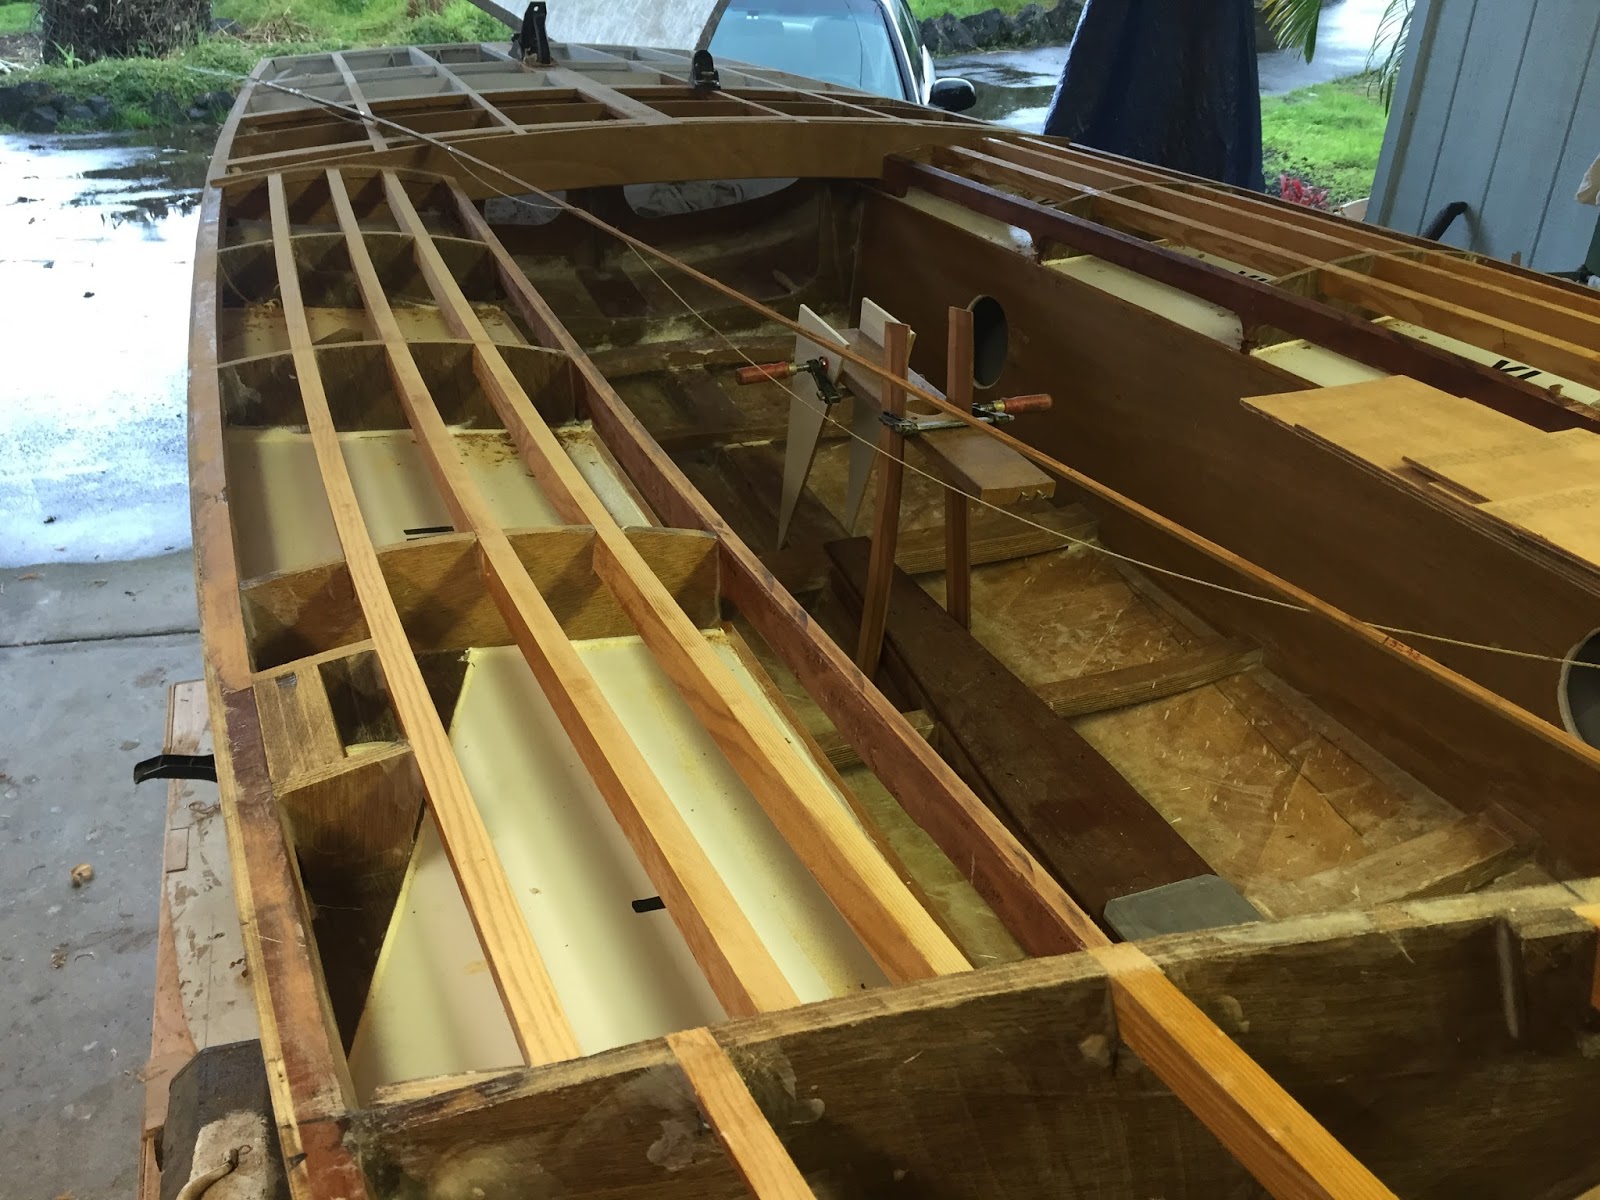
All panels are installed and the shroud bases complete. I installed the seat stringers and edges. 3 mm cold molding strips are ready to start the two layers for the mid deck. Fitted the tiller thrust bearing block so it is removable.
I like the flying Genoa system here: https://flyingfifteen.wordpress.com/2014/04/16/free-floating-genoa-barbers/ but the cockpit design in trying to adhere to the rules is a bit aggressive on the inner edge of the side decks. Most boats show a bevel but I came at it with a sharp edge. If I can layout lines without rubbing the edge I will try it otherwise I need to add a track attachment point along the stringers before the skin goes on.
When the for, aft and mid deck skins are on the main structural is finished. Trying not to think about the thousand other steps other than the big picture: Console, floor, bow, keel and step, splash...mast/sails kit.
Wednesday, November 4, 2015
Saturday, October 31, 2015
The compartment covers are finished and coated with epoxy barrier. This will be followed with white enamel paint. Painting aft two compartments, tank interiors, and covers before installing them. Seat work still a ways off. Cockpit front panel will be covered with a apricot or cherry wood (I never found out which) harvested in 1987 from an orchard in Saratoga, California.

Wednesday, October 28, 2015
Trying to finish buoyancy compartment covers. The 6mm ply is running low so checked what was available on the deck ply sheets once the fore and aft material is removed. Should be fine. Brilliant the front and back use exactly 2 sheets and they conform very easily. There is still considerable shaping to the frames to receive the deck skin as well as internal work (console, keel plate, shroud and fore-stay anchoring, spinnaker chute...). The rudder stock thrust bearing block was originally to be mounted permanently. Now it will be bolted from below with sealant all around to allow quicker access to the upper and lower bearings.
Sunday, October 25, 2015
The aft cockpit and side decks/tanks meet in a strange manner making it tricky to enclose the watertight compartments. Four pairs of compartments are prepared in the side decks. A small space above each and below the seat edge will allow access to cover plates. I am pretty happy with the seat structure in supporting persons and stiffening the length of the midsection of the boat. Next week might be realistic to start cold molding the seat a.
Aft edge composed of 2x 6mm ply.
Bulkheads bonded in place.
Bow chock block...or whatever! Spinnaker chute to be built in just aft of this and initially hidden for future upgrade.
Subscribe to:
Posts (Atom)